Background
I never wrote this up, and I think it’s time I did. For the past couple years, we’ve been using Home Assistant (HA) as our home automation platform and it has been AWESOME. The Home Assistant team has put together one of the best home automation platforms out there. Home Assistant is also open source which means it enjoys the freedom that comes with it (including the price of free). A huge community has grown around HA over the years and there are thousands of name brand integrations which means this platform works with a lot of “off the shelf” home smarts. HA does value and permit a cloud-free automation platform, if you prefer to have little reliance on the cloud – you’ll just need a local MQTT server on your network as well for device <–> HA communication. In this writeup, I’ll be talking about installing HA on a virtual machine only. You can install it on a raspberry pi, or x86_64 hardware as well, but because I don’t want yet another physical box, I have opted to do a VM install. My VM environment is based on KVM which is standard in Linux and this tutorial will be using the KVM method.
Installation
To begin installation, we’ll need the .qcows image which is available for download (as of this writing it is HAOS 9.4). At a High level, our install will cover these steps:
- Download the HAOS image into the VM storage on your KVM host
- Create the Virtual Machine
- Configure the Virtual Machine in virt-manager
- Start the VM
Downloading the HAOS image to the VM store volume (in my case, it is located at /vol1/ISO/Linux/Hass but your mileage will vary, choose a location appropriate for your environment):
root@pkvm-r430:/vol1/ISO/Linux/Hass# wget https://github.com/home-assistant/operating-system/releases/download/9.4/haos_ova-9.4.qcow2.xz

unxz haos_ova-9.4.qcow2.xz
The above example downloads and then extracts the .xz archive leaving the .qcow image file:
-rw-r--r-- 1 root root 967442432 Dec 1 09:28 haos_ova-9.4.qcow2Now, we want to build the VM and point it at this image using virt-manager:
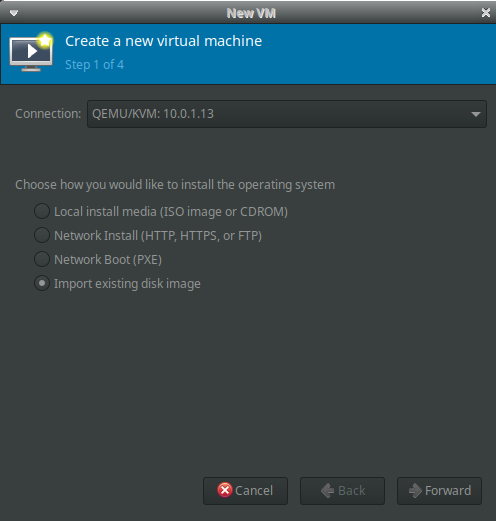
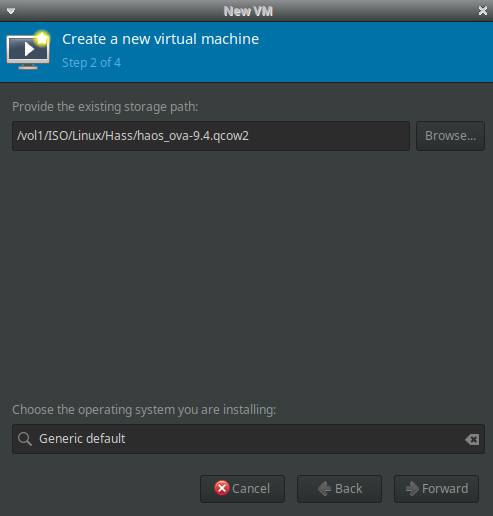
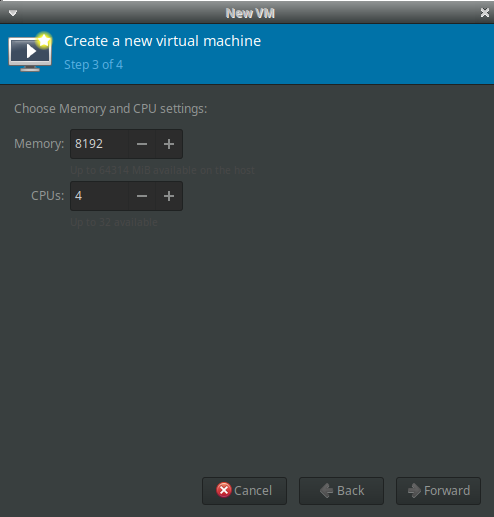
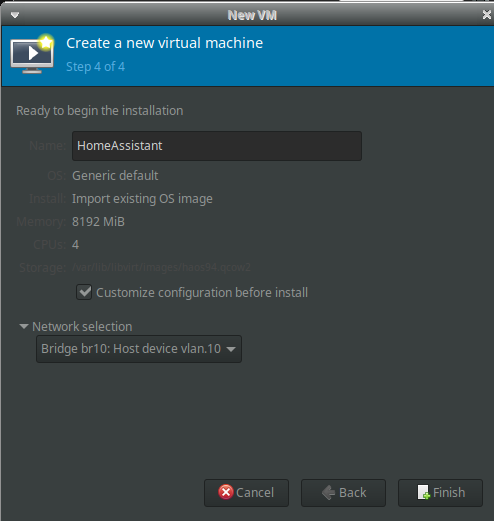
For my install, I provisioned 8GB Ram and 4 CPU cores (You don’t usually need this much, but if you run a lot of integrations, you may want to assign more than the 2GB and 2 cores that HomeAssistant recommends).
Next, Name the VM and bind it to a network interface or bridge (using bridging in KVM is recommended) and check “Customize configuration before install”:
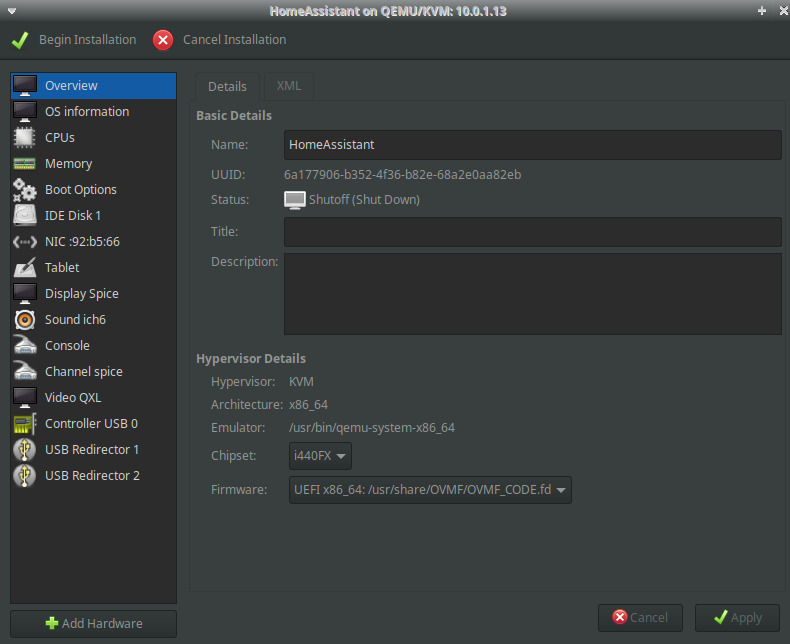
Under customization select “Overview” -> “Firmware” -> “UEFI x86_64: …”. Make sure to select a non-secureboot version of OVMF (does not contain the word secure, secboot, etc.), e.g., /usr/share/ovmf/OVMF_CODE.fd. then hit APPLY
Next, click “add hardware” (lower left corner) and select “Channel” and set Name and Device Type as shown:
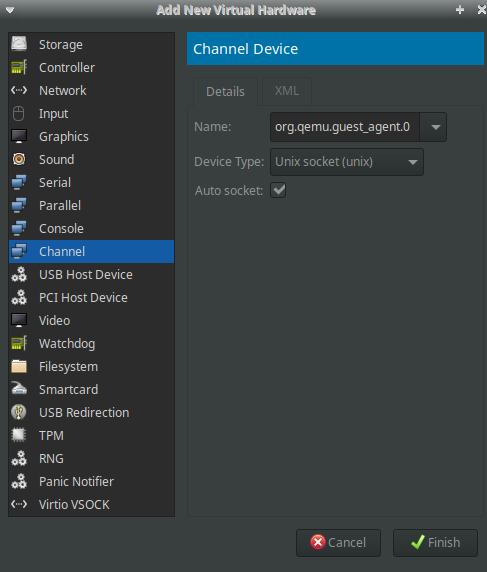
Hit FINISH, then APPLY
Now click “Begin Installation” in the top left:
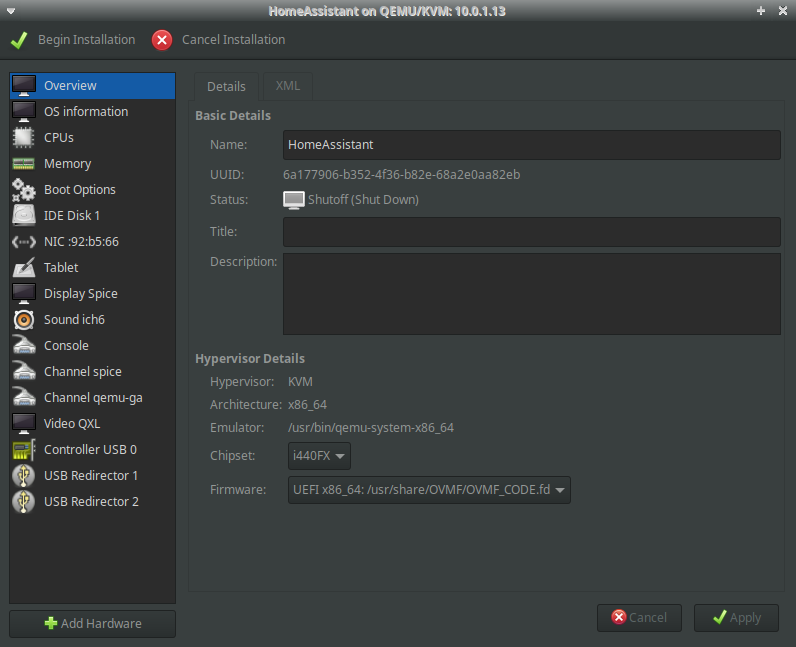
At this point, your HA VM should start building! Be patient, the process takes several minutes. When complete, you should see the screen below in your VM:
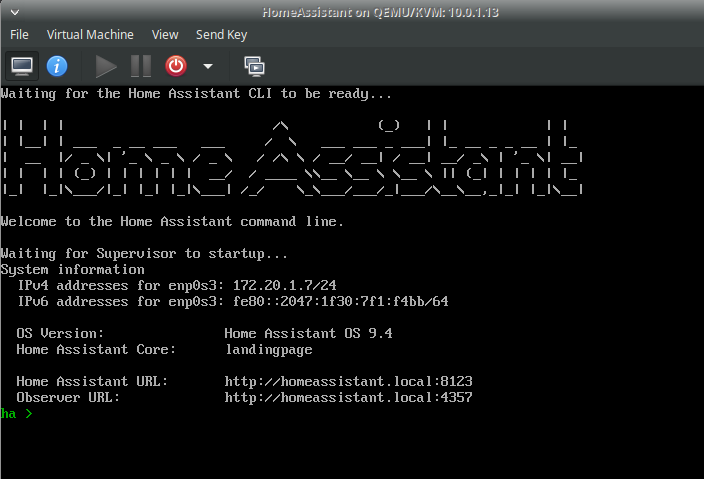
Setup A Static IP
To setup a static IP, you need to use the Network Manager CLI. To get to that, from the HA CLI, type “login” then enter. You’ll see the prompt change. At the # prompt, you can type “nmcli con” to show current ethernet connections. Note the Connection Name in the example below is “Supervisor enp0s3”. To edit and change this connection to use a static IP issue:
nmcli con edit "Supervisor enp0s3"Use whatever name your connection actually is when running “nmcli con”. Once in the editing mode, you will issue the following commands (just change the addresses shown to what is appropriate for your environment):
nmcli> set ipv4.addresses 10.9.9.170/24
Do you also want to set 'ipv4.method' to 'namual'? [yes]: yes
nmcli> set ipv4.dns 10.0.1.15
nmcli> set ipv4.gateway 10.9.9.1
nmcli> save
nmcli> quit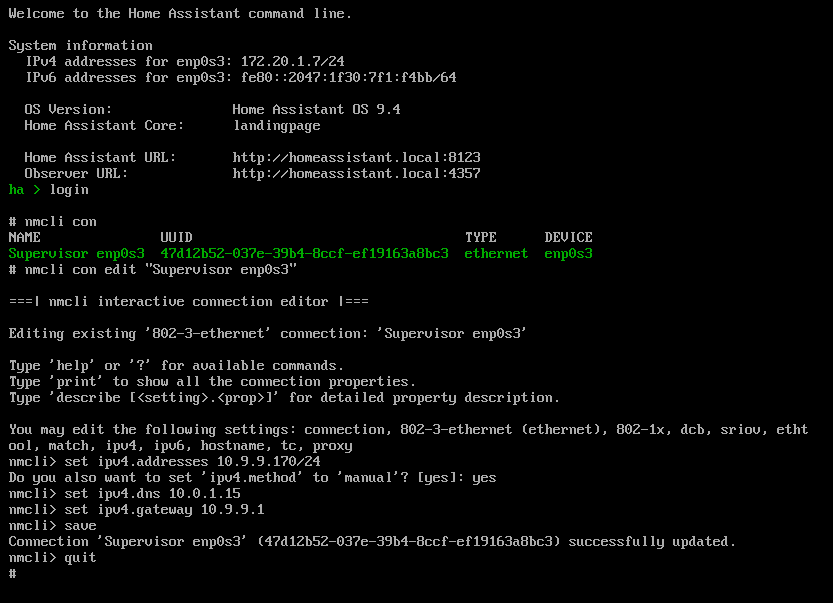
At this point you can type “reboot” at the # prompt to reboot the VM and apply the new IP address. You should now be able to reach your HA VM at following URL: http://ip.address:8123
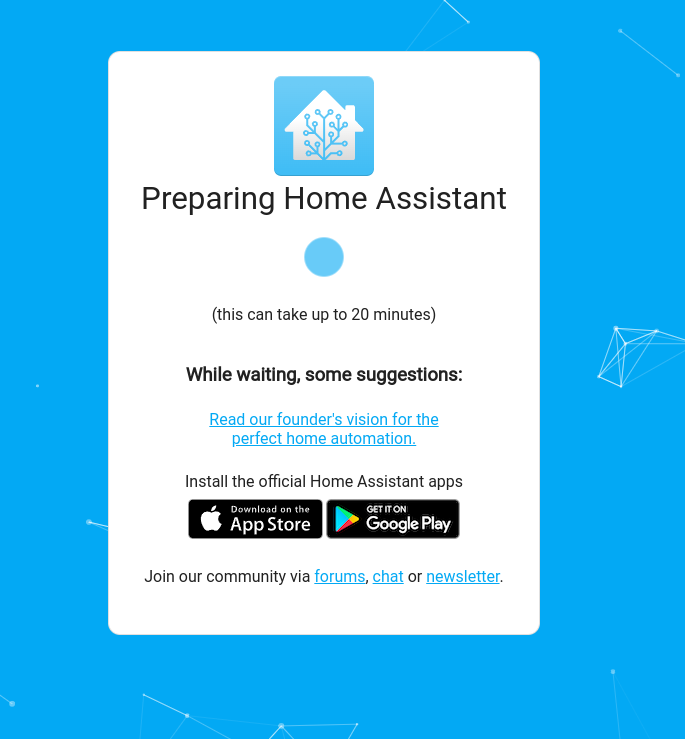
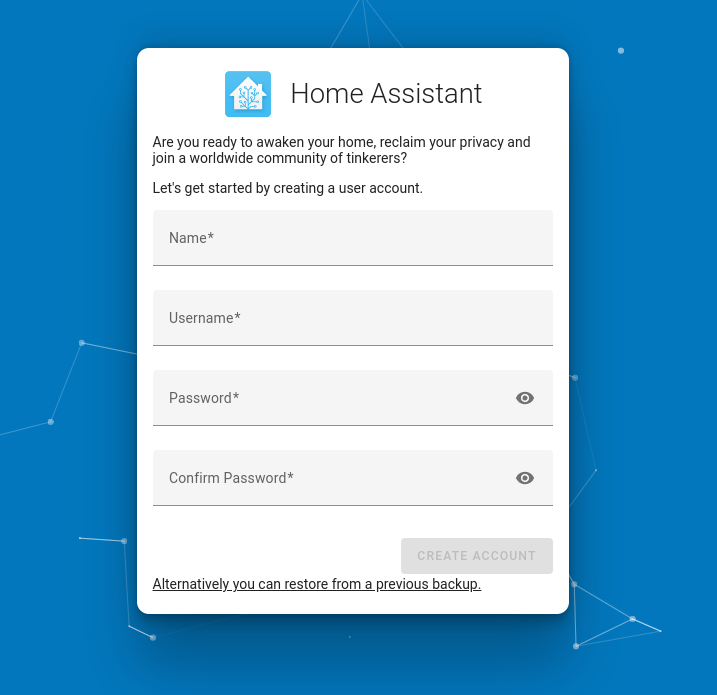
When the initialization is complete, you will then be able to create your administrative user account and be on your way to Home Automation Bliss!